
Azure DevOps and SendGrid Integration - Step by Step Guide
Sending emails has been a part of our day to day life. We send/receive emails which might be for information, raising issues, followups, reporting, alerts, etc.
When talking in terms of software development lifecycle or implementing devops practices, emails are very essential to keep clear communication and for keeping everyone on the same page.
In this blog, we’re going to discuss regarding how to integrate SendGrid with Azure DevOps. For those who don’t know about SendGrid,
SendGrid is a cloud-based SMTP provider that allows you to send email without having to maintain email servers. SendGrid manages all of the technical details, from scaling the infrastructure to ISP outreach and reputation monitoring to whitelist services and real time analytics.
For more info, please refer this link.
Before continuing ahead, please note SendGrid does not provide any official Azure DevOps extension. Hence, we’ll be using custom extension created by Kasun Kodagoda in order to achieve the objective.
I will update this guide once SendGrid launches it’s official extension on Azure DevOps.
Integrating SendGrid with Azure DevOps
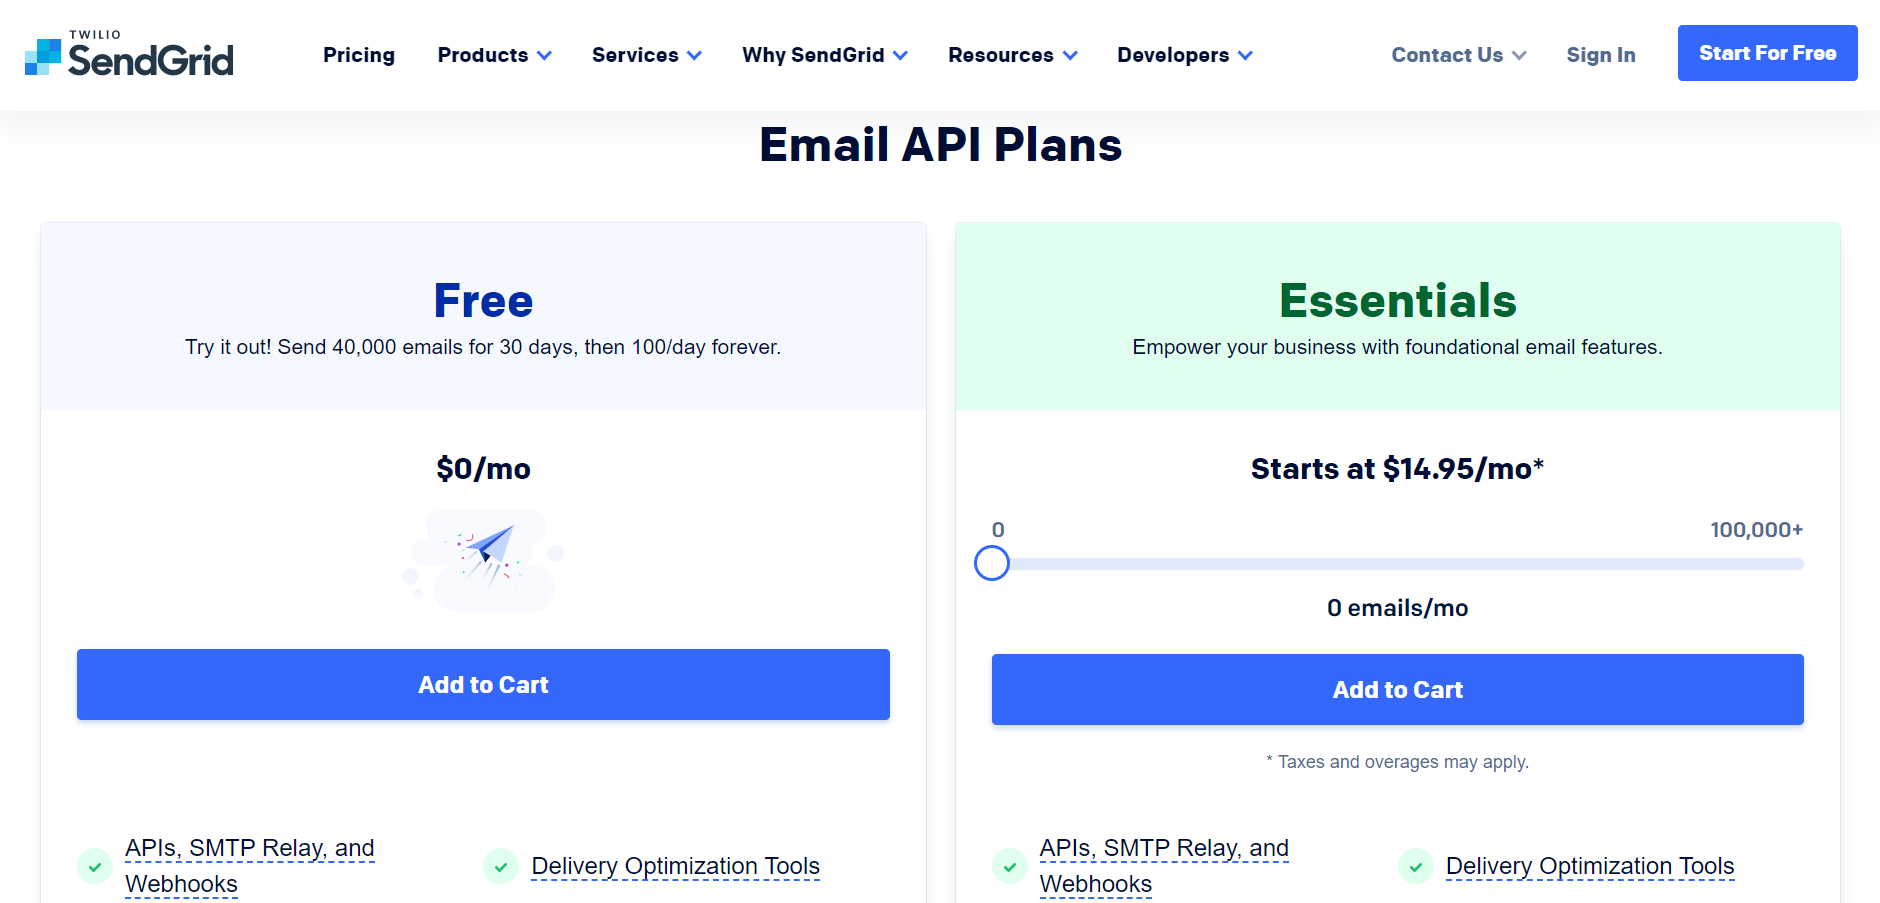
- SignUp on the SendGrid website and subscribe for free plan.
Under free plan, you would be able to send 40,000 emails for 30 days as a part of promotion, then 100/day forever.
You may signup for essentials, pro or premier plan based upon your usage and business requirements.
- Grab the SendGrid API from your account and store in some secure place.
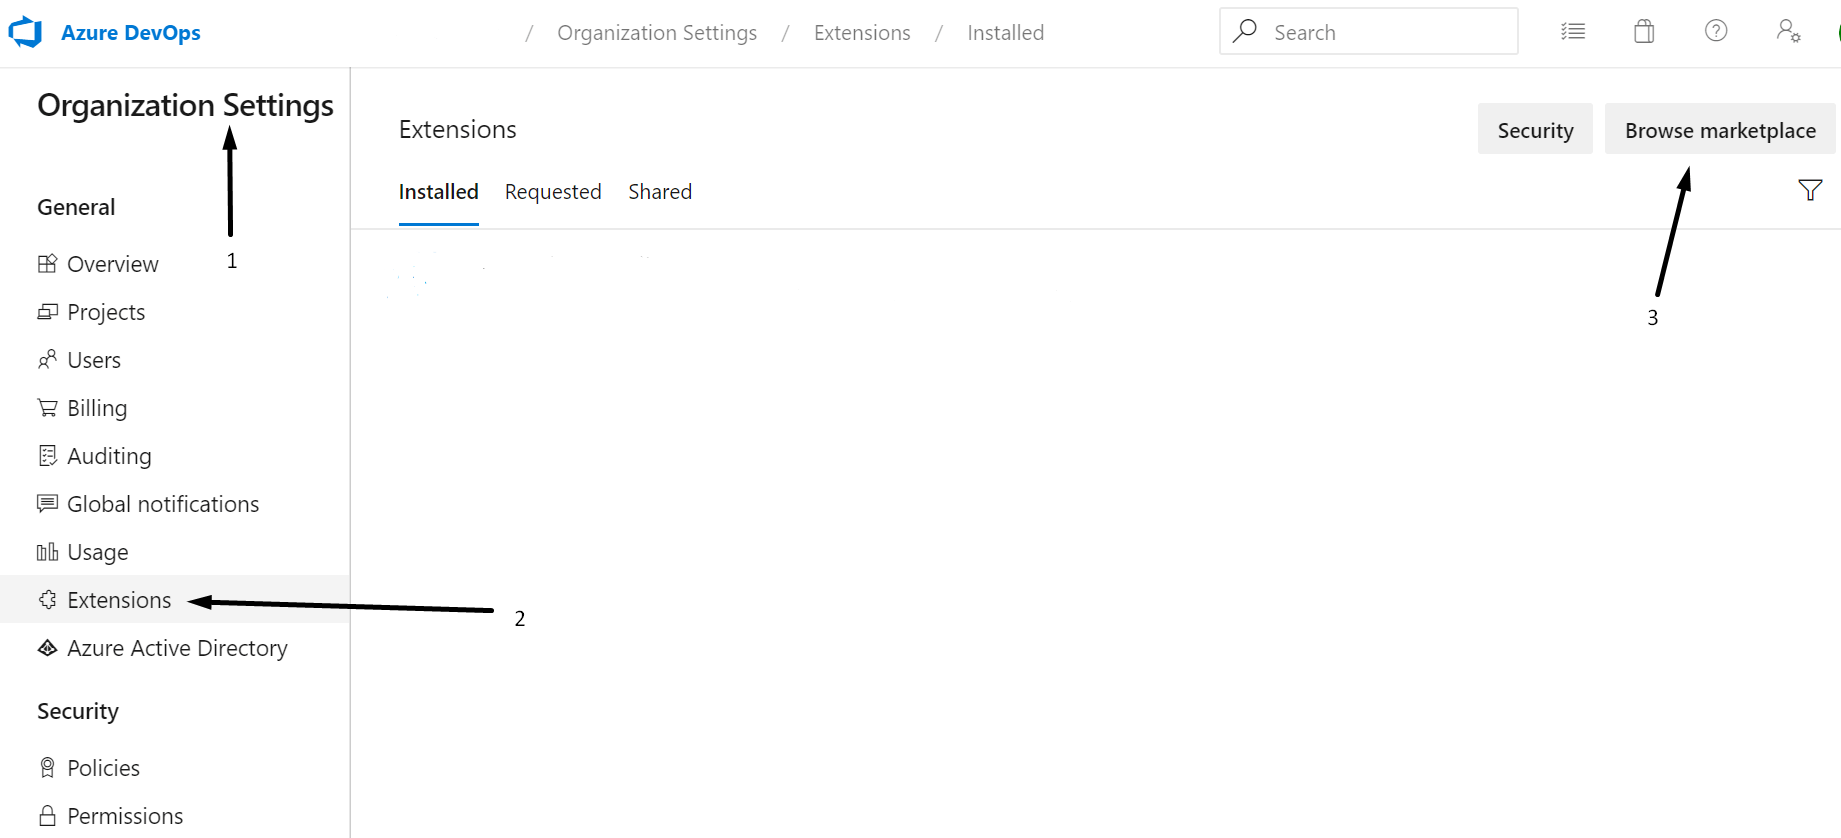
- Open your Azure DevOps account and head over to organisation settings.
- In the organisation settings, go to extensions and then click on Browse Marketplace.
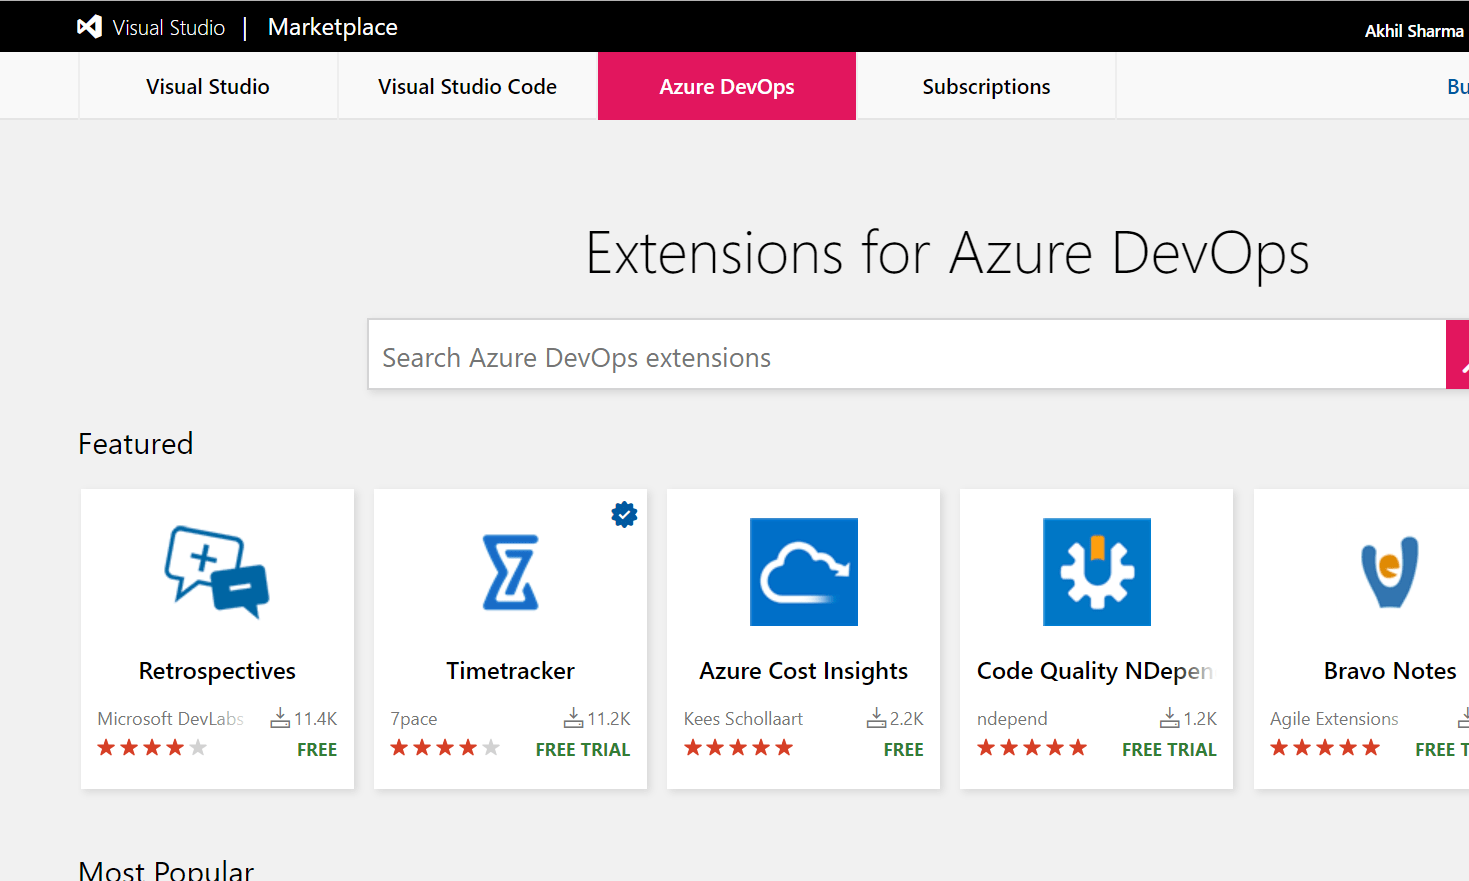
- Azure DevOps extensions marketplace should open for you.
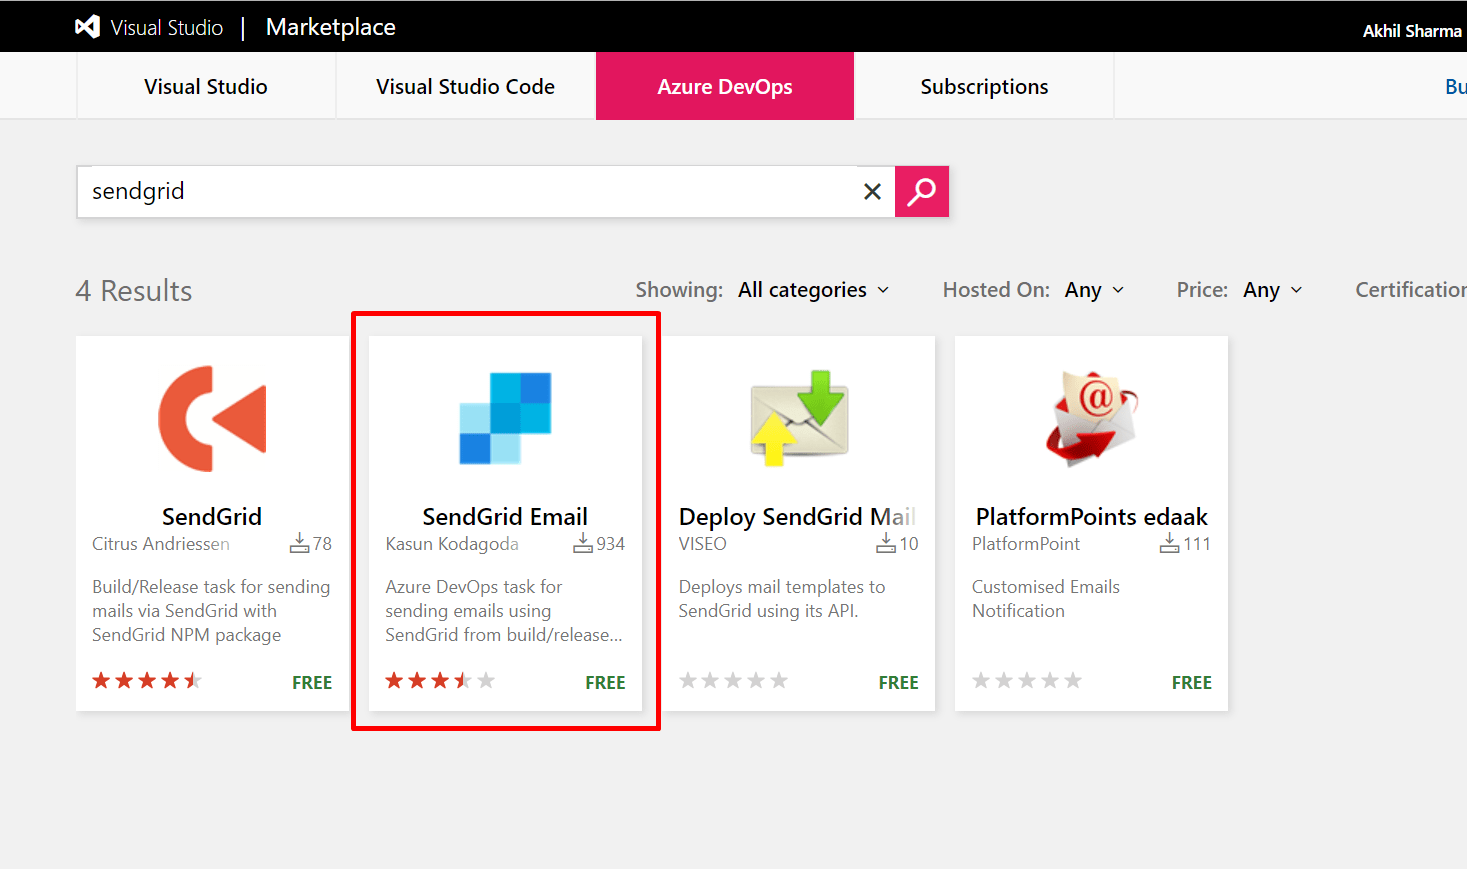
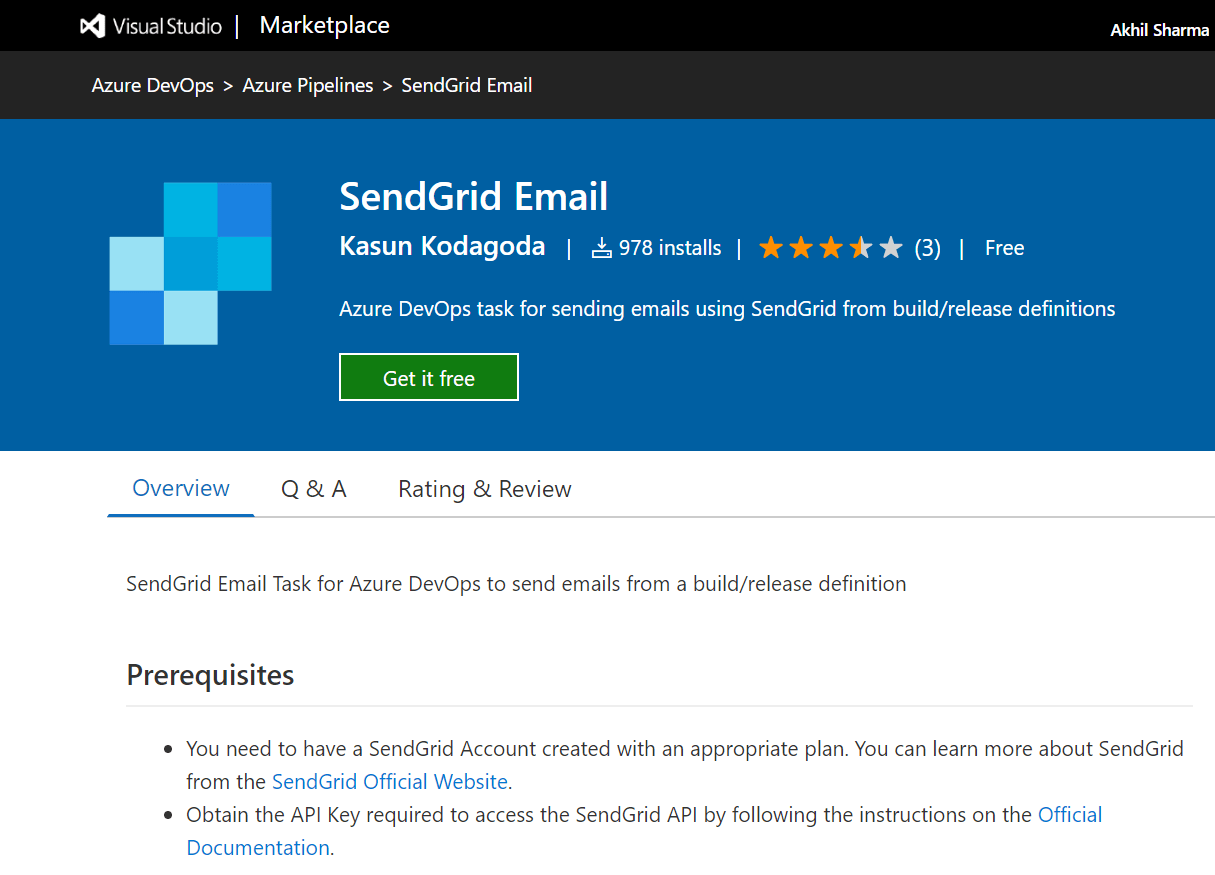
- Search SendGrid in extensions and select SendGrid extension by Kasun Kodagoda. Wondering why? Well SendGrid doesn’t have it’s official extension on Azure DevOps marketplace as of now.
- Select “Get it free” button and follow the instructions to install the plugin.
Please note, you would need elevated access on Azure DevOps organisation to install this plugin. Check Permissions under Security in your Azure DevOps organisation settings.
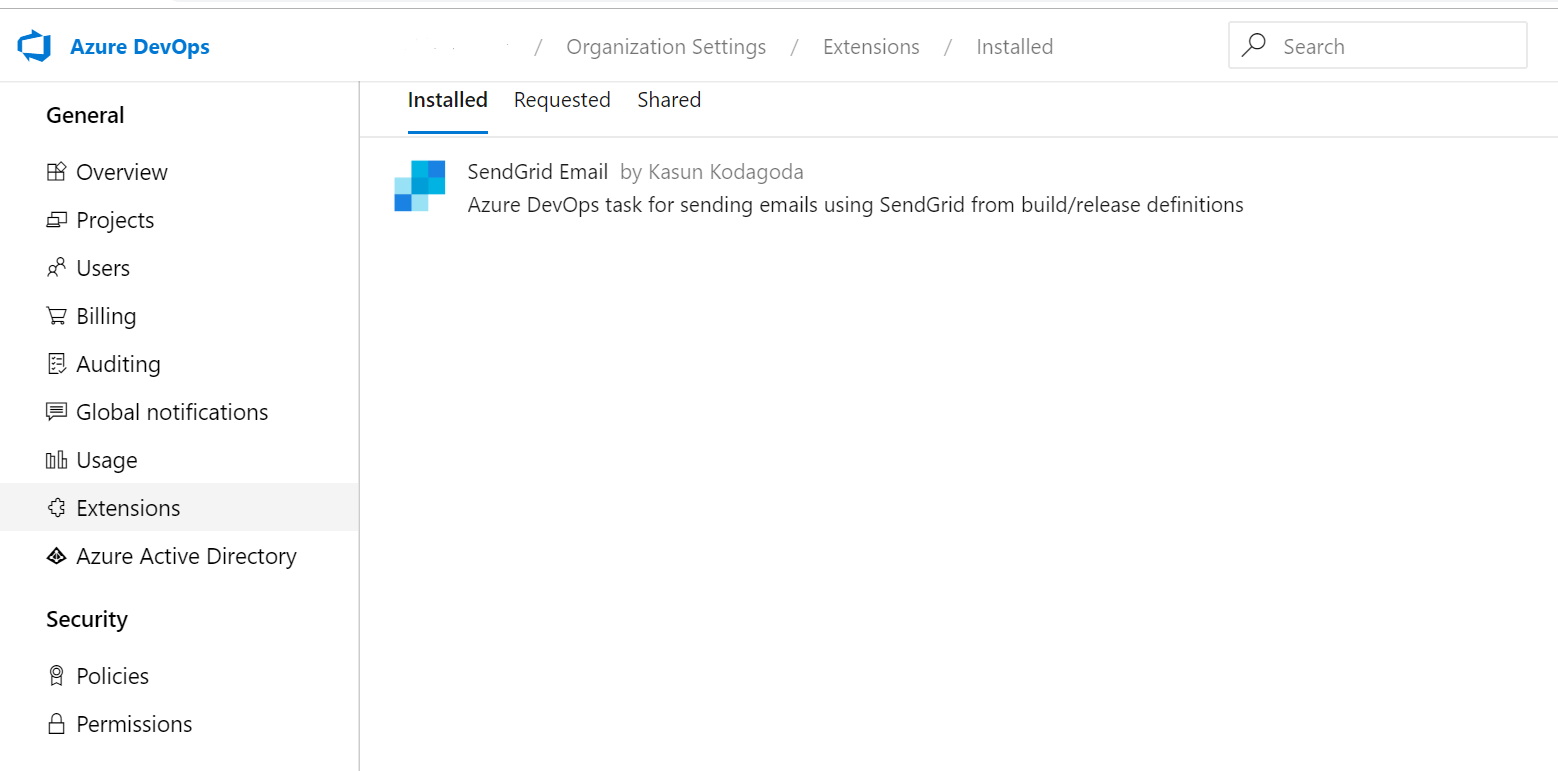
- Once installed, you should be able to see the extension installed your organisation settings.
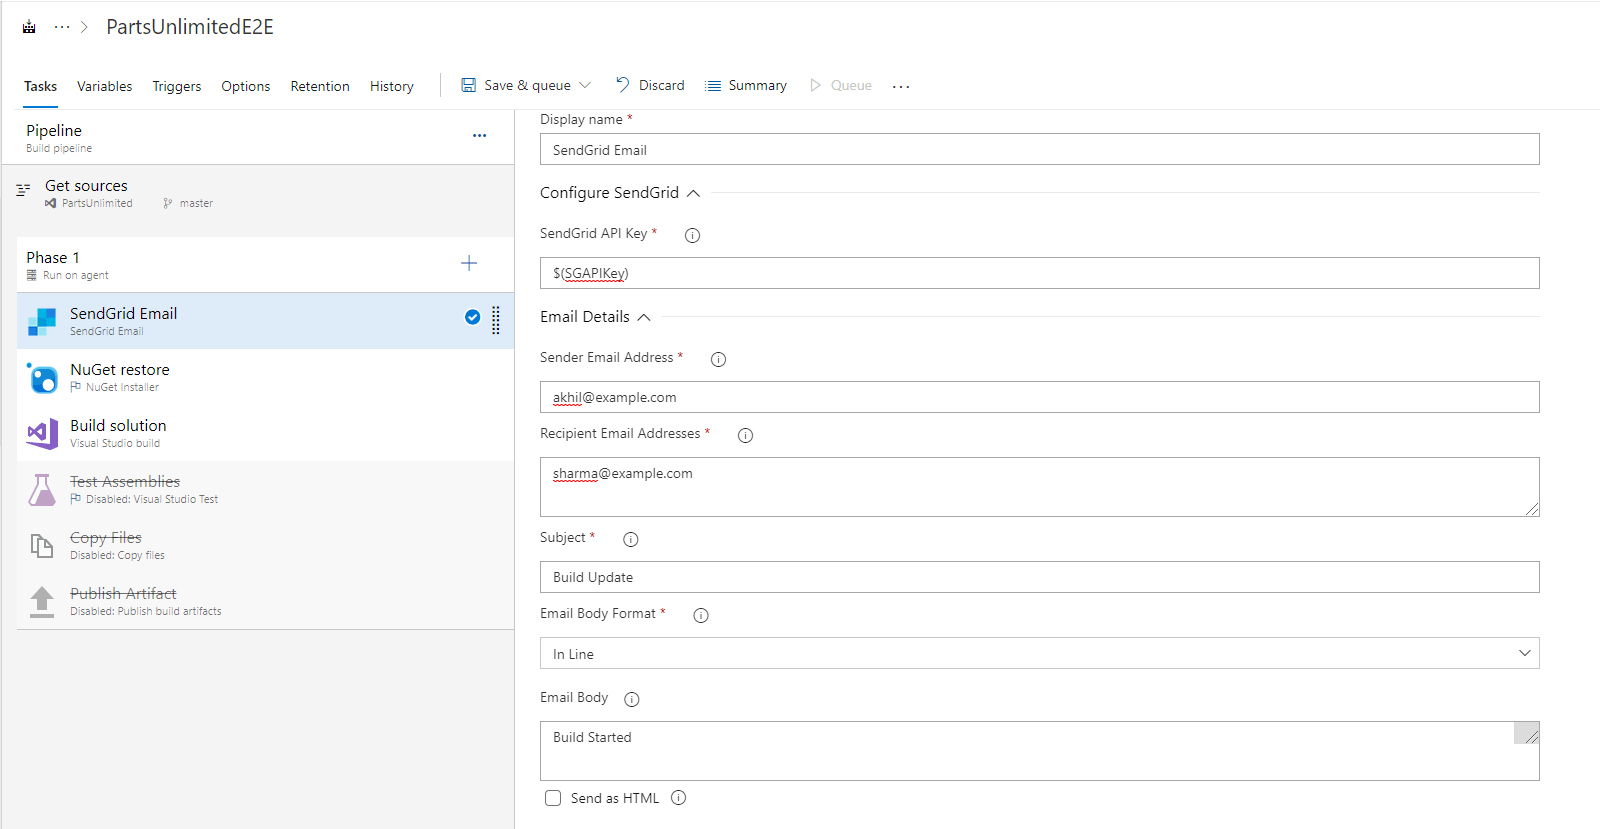
- Now go to pipelines and add SendGrid task to your build/release pipeline.
You can simply add this task in Build/Release pipeline, just like the way we add other tasks.

- After adding the task, configure the task as per the requirement and you’re all set to go!
I hope this guide was useful and you are able to achieve the objective easily. In case, you face any difficulties or have any questions or concerns, please feel free to write me. I will try to reach you and help you as soon as possible.