
Deploying .net application with GitHub Actions
In this blog post, we are going to discuss on how to deploy a .net application to an Azure Web App with the help of GitHub Actions.
GitHub Actions
GitHub Actions help you automate your software development workflows in the same place you store code and collaborate on pull requests and issues. You can write individual tasks, called actions, and combine them to create a custom workflow. Workflows are custom automated processes that you can set up in your repository to build, test, package, release, or deploy any code project on GitHub.
Source: GitHub
In this article, We will deploy a .net application to Azure Web App. However, you can use any languages you would like and deploy anywhere you like… I just needed to pick one 🙂
Now, let’s get started.
Step 1: Source Code
For source code, I’m using my previously forked repo from Microsoft. I made some tweaks to the repo so that I can build and publish the repo properly. Also, I changed some code for personal testing.
Here’s the source code incase you want to use mine.
https://github.com/akhilvatts/storage-blobs-dotnet-webapp
Step 2: Define the workflow
There are two methods to define the workflow. First is to use any of the suitable pre-existing templates provided by GitHub and second is to write your own workflow. In this post, I’ll be providing you with the workflow yaml created by me for the project, but in your case, you may either leverage the knowledge you would get after studying my workflow file and create your own workflow file, or you may use one of the tons of templates provided by GitHub and extend it as per your requirement.
To access the templates, go to Actions tab in your GitHub repository and explore the templates.
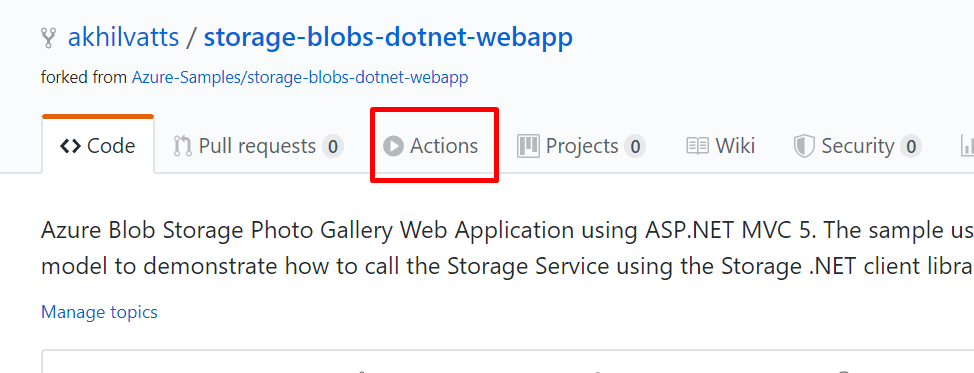
Here, if you wish to use a pre-existing template, then select the template of your choice. If you wish to setup your own template, then select the “Set up a workflow yourself” option from top-right on your Actions screen.
Now, let’s add our own workflow template to our GitHub solution. GitHub will look for workflow files at .github/workflows/ in the root of our solution. Let’s create a workflow file with the yaml extension.
In the Actions tab, click on “Set up a workflow yourself” option and start setting up your workflow file.
Now, let’s discuss a general way how you would tackle a .net application code and how would you deploy it.
- Build the codebase
- Package up the deployable codebase and upload that artifact for deployment purposes
- Authenticate in the server/web app where you wish to deploy your artifact.
- Deploy the artifact
- Check the site post deployment
Just like the way we discussed the above general approach, we would implement the same in the workflow document.
Build the code

Package up the code and upload the artifact

Authenticate and Deploy the artifact
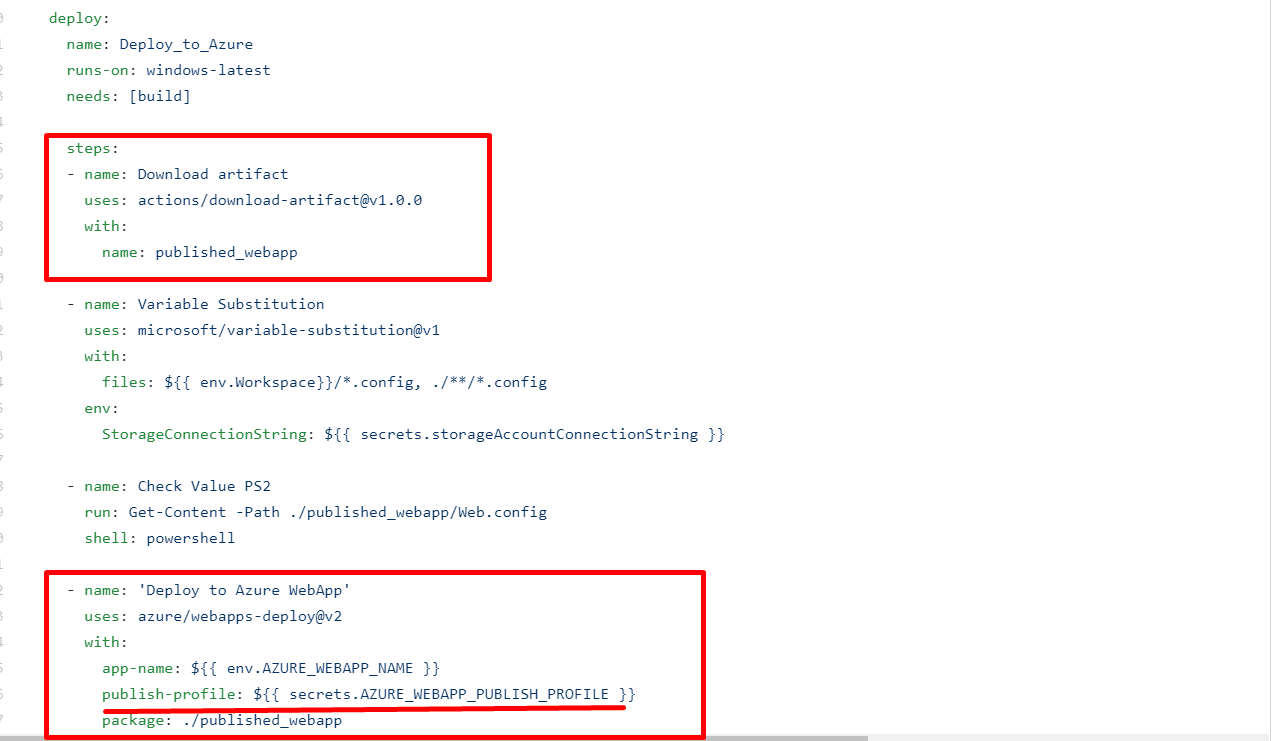
This helps workflow file will build the code and deploy the artifact on the Azure Web App.
The complete workflow code can be found at: https://github.com/akhilvatts/storage-blobs-dotnet-webapp/blob/master/.github/workflows/main.yml
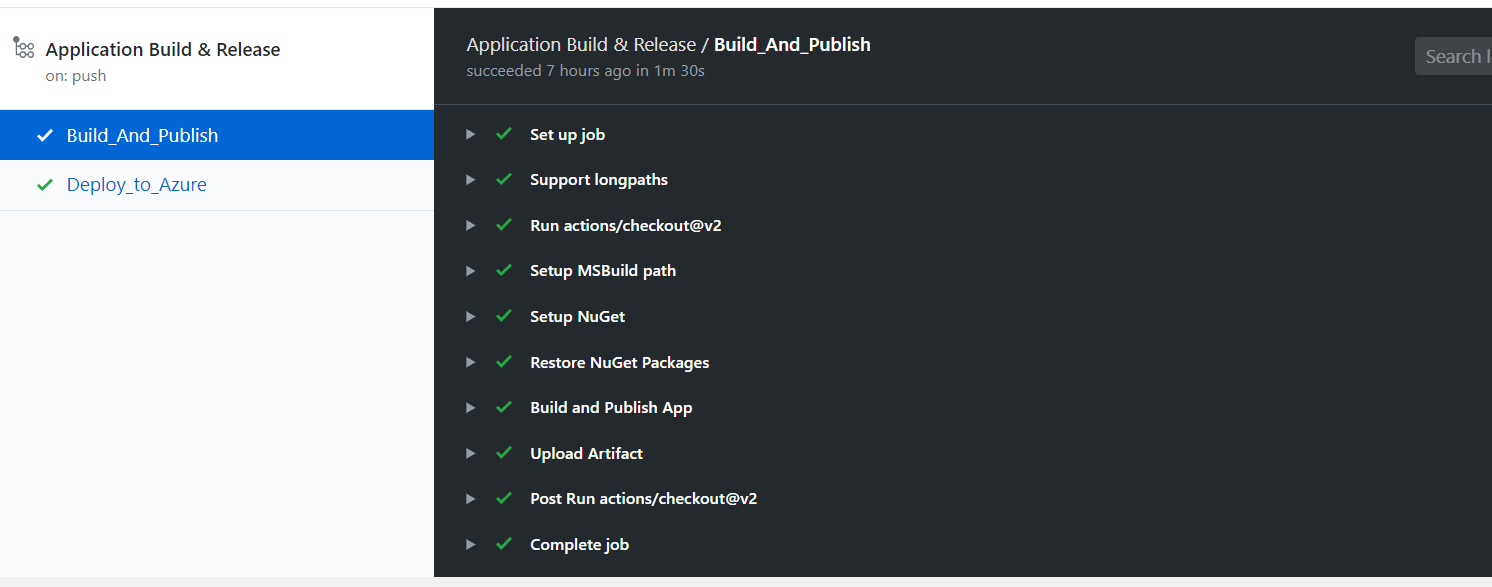
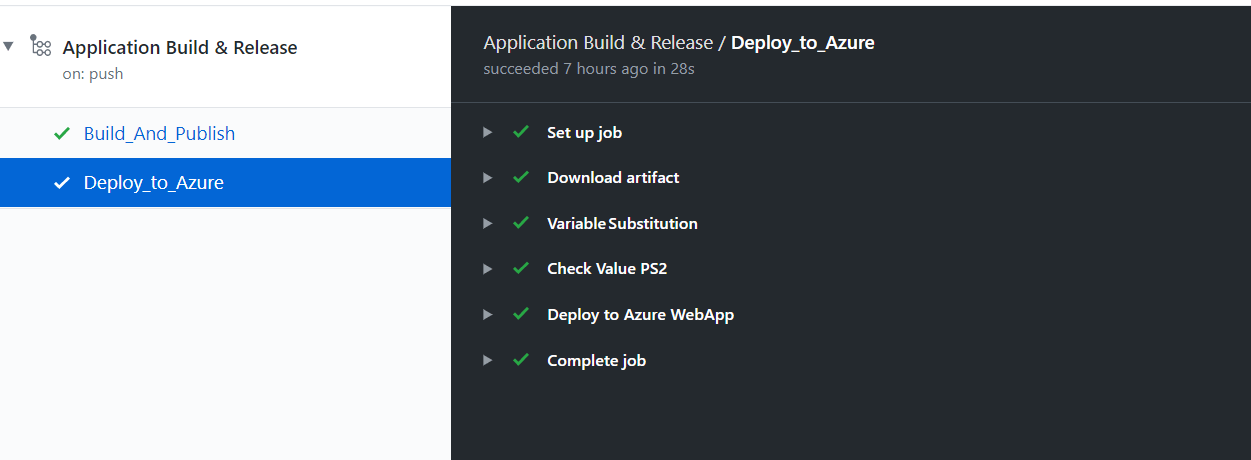
If everything successfully configured, you should see your GitHub actions running and giving you results like this
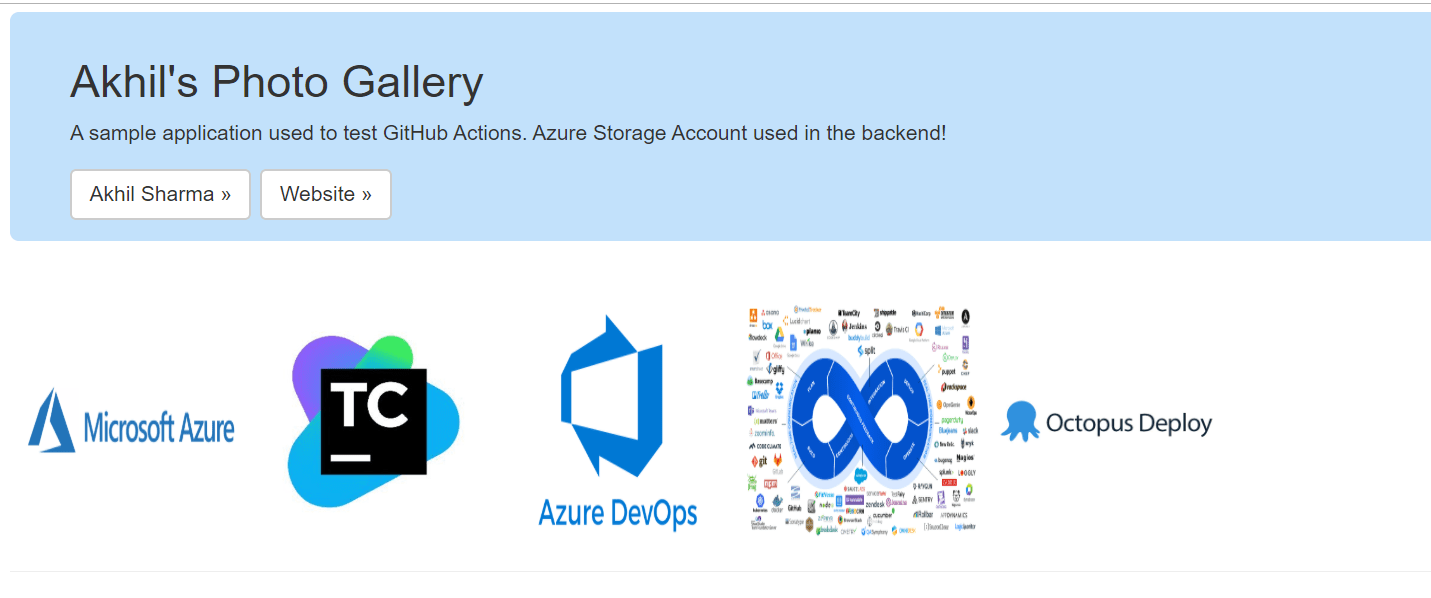
After successful deployment, the site up and running should look like
I hope you enjoyed the tutorial.
If you are interested in reading my other write ups regarding GitHub Actions: https://akhilsharma.work/github-announces-its-take-on-ci-cd-challenge-unveils-github-actions-with-ci-cd/
Coming soon: GitHub Actions Workflow Demystified