YAML Deploy Using Azure Pipelines - PipelineAsACode
This post takes a step further from building the code using YAML based Azure Pipelines to deploying the code based on YAML Azure Pipelines.
I recommend you to take a sneak peak at my old post regarding building of code at: YAML Build Pipelines in AzureDevOps – PipelineAsACode
In this post, I’ll be reusing the complete build code from the last blog post and would be writing the deployment code on top of it.
Before we proceed further, it is important to understand the concept of environment under Azure Pipelines. Here in this case, environment is a collection of resource sets that are to be used as deployment targets for deploying our apps in particular environment like Dev, QA, UAT, PROD, etc.
Official Microsoft documentation says,
“An environment is a collection of resources that can be targeted by deployments from a pipeline. Environments can include Kubernetes clusters, Azure web apps, virtual machines, databases. Typical examples of environment names are Dev, Test, QA, Staging, and Production.”
I hope you now got it what it is. Incase, you still have doubts, headover to the official documentation or let me know via twitter or linkedIn, I’ll create a blog post explaining each and everything completely.
We would be using environment in our yaml file to deploy the code over to the Azure Webapps.
You can also add Virtual Machines to the environment or your K8s cluster to set as deployment targets. Environment can also be used to set approvals or to apply checks like deployment always happen in business hours.
But for now, go to Azure DevOps portal and create an environment in Azure Pipelines named dev. We’ll be using newly created dev environment for very basic purposes.

Now, coming back to creating yaml files, let me first share you the file so that you can start referring or start relating to what I say.
https://github.com/akhilvatts/AzureDevOpsYaml/blob/master/azbuilddeploypipeline.yml
Before we start, what would be first set of things that you would think when starting to configure release pipeline?
- Which environment is it?
- Any environment variables?
- Where do I deploy it?
- Access to the deployment target?
Now lets answer each and every part and start writing our yaml file.
We need to deploy the code on an Azure WebApp in dev environment. The Azure WebApp auth is managed by a service connection ‘MSDN Subscription’ and the name of the webapp would be stored in a variable group ‘Release’. You need to download the build package and deploy it over the webapp. The deploy job cannot start until and unless build job is over.
Now, let’s write it in code form.
“The deploy job cannot start until and unless build job is over.”
- stage: 'Dev'
  displayName: 'Deploy to the dev environment'
  dependsOn: Build
We need to deploy the code on an Azure WebApp in dev environment. The name of the webapp would be stored in a variable group ‘Release’
    environment: dev
    variables:
    - group: 'Release Variables'
The Azure WebApp auth is managed by a service connection ‘MSDN Subscription’. You need to download the build package and deploy it over the webapp.
          - download: current
            artifact: drop
          - task: AzureWebApp@1
            displayName: 'Deploy To StorageBlob WebApp'
            inputs:
              azureSubscription: 'MSDN Subscription'
              appName: '$(WebAppNameDev)'
              package: '$(Pipeline.Workspace)/drop/*.zip'
Now check the complete file I shared earlier.
I hope I spread some light over how to write the deployment pipeline and you would understand how to think and write.
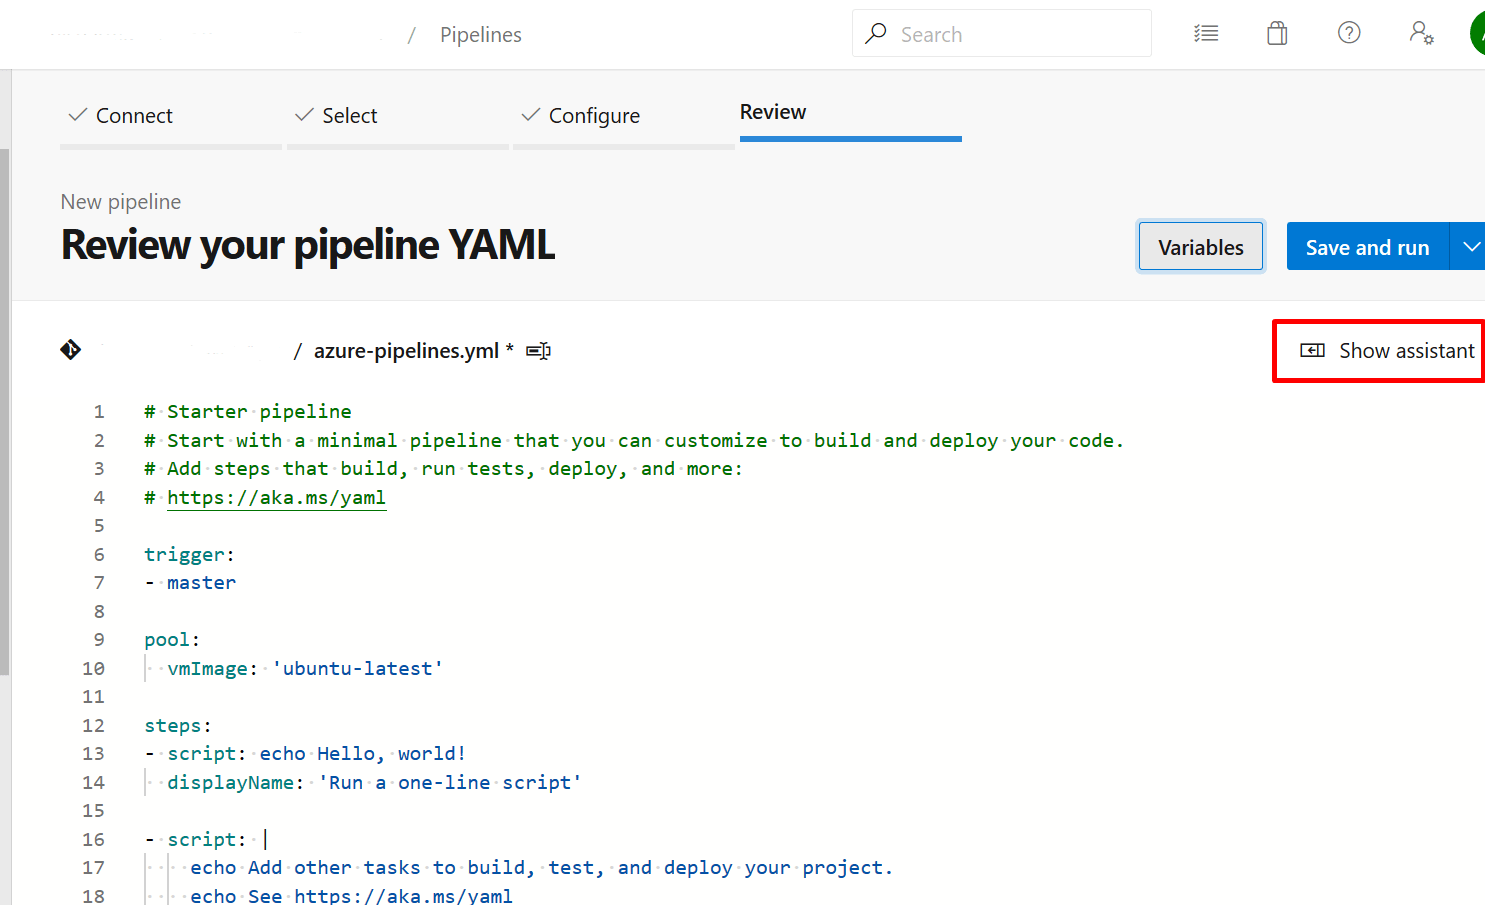
While writing this part in your pipeline code, I strongly suggest checking Microsoft Assistant as well. It really helps solving your complex requirements and would help reach the the solution faster.

I hope my blog helped you and it was useful.
Thank you!